
Kayak Safety and self-rescue
While kayaking is generally a very safe sport, knowing a few essential safety and rescue techniques makes all the difference when things don’t go to plan. Knowing how to handle a wet exit, bracing, and self-rescue are some of the most critical skills you can develop. Learning to roll isn’t strictly essential, but it’s a fantastic skill to have—especially with Greenland kayaks, which are practically built for effortless rolling.
Some paddlers might argue that wearing a wetsuit and knowing how to do a basic wet exit is enough. But ask yourself: will you dare to go paddling a little farther from the shore with just that?
Mastering advanced safety techniques builds the self-confidence you need when paddling alone, covering longer distances, or dealing with rough waves. Above all, using your brain, recognizing dangerous situations, and staying out of trouble is always much easier than dealing with trouble.
Wet Exits, Bracing and Rolling
Although performing a wet exit from smaller, ocean-type Greenlandic cockpits is much easier than entering them, you should always learn this with a friend nearby so you can get assistance if something goes wrong. Once you master it, your confidence will soar.
It will also be much harder to capsize in the first place if you know how to do low and high braces.
When you are ready to advance, learning to roll is much easier with a good instructor or an assistant by your side to catch you if you fail. If you already know how to wet exit, you can practice rolls alone—but it is the hardest route. It may become frustrating to wet exit, dump water, and re-enter your kayak on every single failed attempt.
Safety Note: Never practice wet exits or rolls on moving river currents or in water that is too shallow.
River Kayaking Hazards: Logs, Dams, and Currents
Whether you are on a river or the sea, there are always distinct dangers to look out for.
Log Jams and Strainers
When paddling rivers, my primary concern is staying away from log jams. These are usually found on the outer parts of river bends. The river where I paddle the most—the Drava River—has plenty of them.
Rivers are mostly deeper and faster on the outside of bends, and erosion causes logs to accumulate there. If you are inexperienced, you could easily get swept into them. The current is incredibly strong, and getting stuck could trap you underneath the logs. Stay away from these outer bends and stick to the inside of the river bends where the current is much slower.
Low-Head Dams
Although I do not have personal experience with river dams, low-head dams create powerful, recirculating currents (hydraulics) that can trap and drown even experienced kayakers. Avoid them entirely.
Shallow Water Foot Entanglement
You might think you are safe in shallow water if you capsize, but if the water is fast-moving, do not stand up on the river bottom. If your foot gets stuck in a rock or log, the strong river flow will push you over and submerge you. In fast, shallow water, it is much safer to swim defensively on your back to the shore without touching the bottom.
Sea Kayaking Safety: Weather, Waves, and Gear
You should be even more cautious when paddling in open sea conditions.
- Check Marine Traffic: Apps like MarineTraffic are highly useful when planning your coastal route, as they help you identify major shipping lanes and ferry routes so you can map your path away from heavy congestion. However, if you are expecting it to show you every boat around you in real-time while you are paddling, it is not enough on its own—do not rely on it as a live safety mirror while in your kayak.
The app can sometimes have a delay in refreshing a vessel’s exact position. Additionally, it only shows AIS-equipped vessels, meaning smaller recreational speedboats won’t appear on your screen. In the days leading up to your trip, check the app to see if—and when—larger high-speed boats use your planned route. Time is your friend at sea. If a larger boat is crossing your path, wait until it passes. Take a drink, have a snack, rest, and then continue with your trip.
- VHF Radio: When you are out on open water, cell phones easily lose signal, die, or get water damaged. That is why a handheld marine VHF radio is your ultimate piece of safety gear.
- The most important channel to know is Channel 16—the international distress frequency. If you are ever in grave and imminent danger, switching to Channel 16 and broadcasting “Mayday, Mayday, Mayday” is your direct lifeline to search and rescue services and nearby vessels.
-
Personally, I hold a Skipper B certificate, which officially qualifies me to operate marine radio communications here in Croatia. I’m not entirely sure how the exact laws vary in other countries regarding whether a paddler needs a certificate just to carry or use one. However, it is crucial to remember this: even if you do not have a certificate, do not hesitate to use the radio in an emergency. In a life-threatening situation, international maritime law dictates that saving lives overrides any licensing rules—getting help is all that matters.
-
Monitor the Forecast: Always check the weather forecast and wind speeds. Know what wave size you can safely handle. Remember, swells generated by distant weather systems can be present even if there is no local wind.
-
Keep Distance from the Shore: On larger waves, keep your distance from the rocky coastline. Crashing waves can easily destroy your kayak against the rocks.
-
Always Wear a PFD: In 99% of situations, you might not need it, but you should wear it always for that critical 1% situation.
- Dress for Immersion: Always dress according to the water temperature to prevent hypothermia, not just the air temperature.
Buoyancy and Safety in Skin-on-Frame (SOF) Kayaks
Skin-on-frame kayaks do not have built-in bulkheads or air chambers, making float bags essential to add buoyancy and reduce the volume of water that can enter. Gear dry bags also help.
There are float bags made specifically for kayak stems. In all of my custom builds, I install a pull cord (a cord tied in a loop from the cockpit to the stems, running along the ribs) for easier packing—a popular solution among skin-on-frame kayakers. This allows you to pull the float or dry bag securely into the stems.
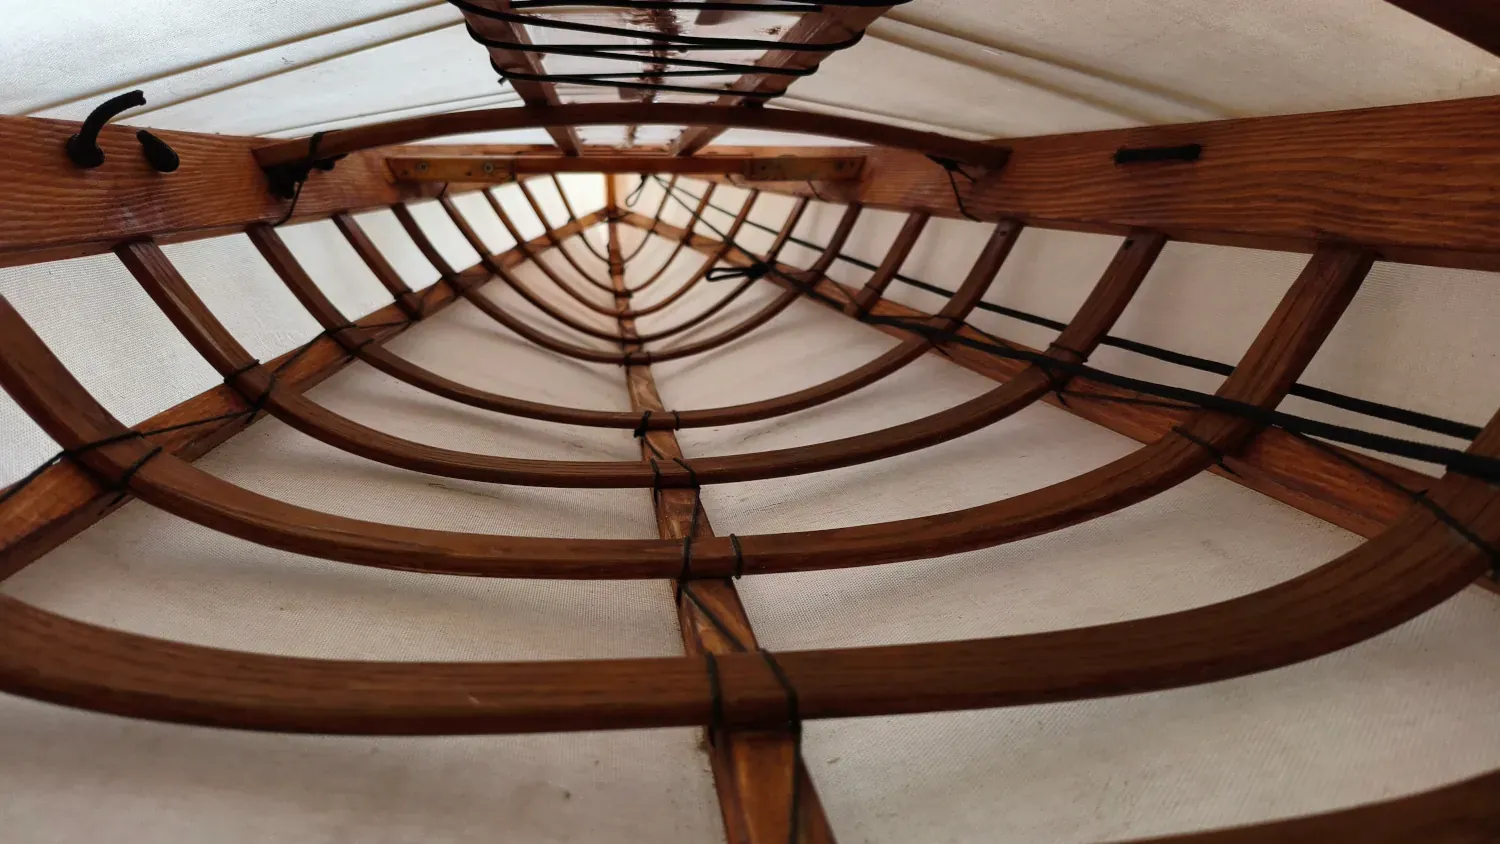
Update: I made a separate, detailed blog post ‘How to Pack a Skin-on-Frame Greenland Sea Kayak’ about packing a Greenland kayak and using pull cords. However, I want to mention that a front pull cord can potentially create a safety hazard, as I do not like any cords near my legs during an emergency exit. I have tested my exits numerous times on land and in shallow water without issue, but if you are unsure, remove the front cord. One thing I do—which can be seen in the link above—is place a yoga mat over the cord. Alternatively, I can install the front float bag during the frame build before skinning.
How to Perform a Greenland Kayak Self-Rescue
Below, you can watch my video showing a self-rescue in my completely submerged West Greenland skin-on-frame kayak (a recent build of mine: LOA 520cm, beam 53cm, weighing just 12kg)
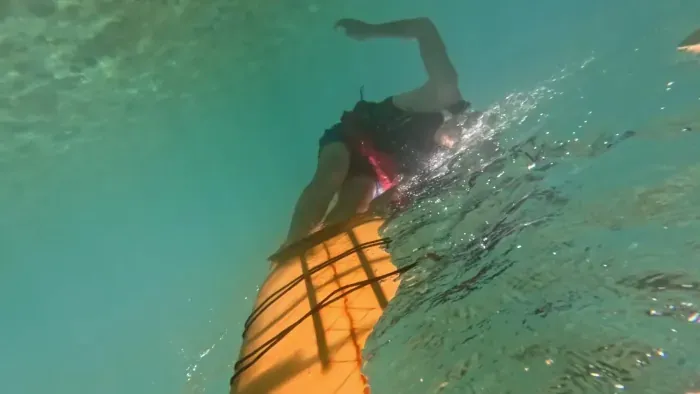
In the video, I forgot to take my bilge pump with me. However, with this specific rescue method, so little water is left in the kayak that it doesn’t affect stability. You can safely continue paddling to shore to remove the remaining water with a sponge.
While a completely flooded kayak is rare, the video demonstrates how quickly this rescue can be executed. It is slightly harder if you aren’t standing on the ground, but with a bit of leg work, it is entirely manageable. This is yet another reason to wear a PFD, as the extra buoyancy helps!
This type of self rescue is for an unloaded kayak, although with these low-volume kayaks that I use mostly for one-day paddling, it’s also manageable to do it if you are not carrying too many things (I mostly do it with one 5-liter dry bag with personal things and snacks, and a bottle or two of drinking water).
Tips for Practicing Self-Rescue:
- Practice in Real Conditions: Train in the environments you plan to paddle in, including wind and waves. Once you can easily perform the rescue on flat water, try practicing in slightly rougher conditions.
- Ditch the Mask: In my personal opinion, it’s good to practice this without a diving mask or nose clips, as you likely won’t be wearing them when you actually paddle. If you struggle with salt water in your nose, remember to exhale gently through your nose while upside down (blowing bubbles) to keep water out.
- Leverage the Greenland Paddle: This style of rescue is highly efficient thanks to the Greenland paddle. If you know how to do a wet exit and enter your kayak using a Greenland paddle as an outrigger, you are more than halfway there. This “cowboy” straddling technique is easy once you master the outrigger position.
Conclusion
In the end, adventure always involves an inherent risk. However, expanding your knowledge of safety and mastering these rescue techniques drastically reduces that risk.
As the famous quote by John A. Shedd goes:
“A ship is safest in a harbor, but that’s not what ships are built for.”