
West Greenland Kayak Update
Here is my new video describing my latest West Greenland Kayak build.
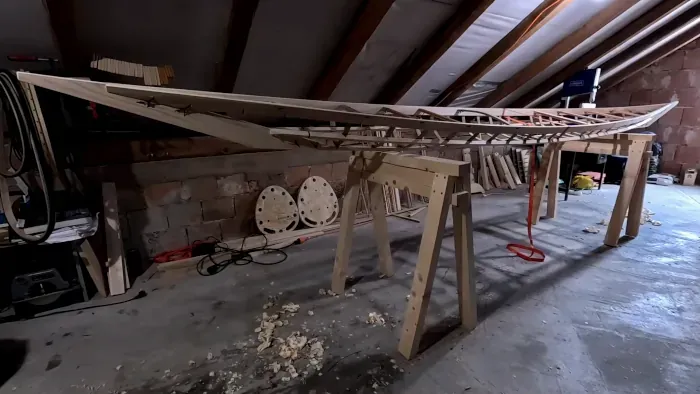
Gunwale shaping, symmetry, and deck beam and rib mortises were done before recording this video. I’m cutting corners here by using modern tools like a table saw, thicknesser and router with jigs in order to speed up the process a little. The camera was out of service during this period, and even if it had worked, I’m not sure where I could have attached it, as most of my gunwale work is done in the basement. Maybe I’ll find some solution for my next project.
Design
I already wrote about my West Greenland kayak build in my older Search for West Greenland Kayak blog post. Some things changed, so I decided to give a slight update on this topic.
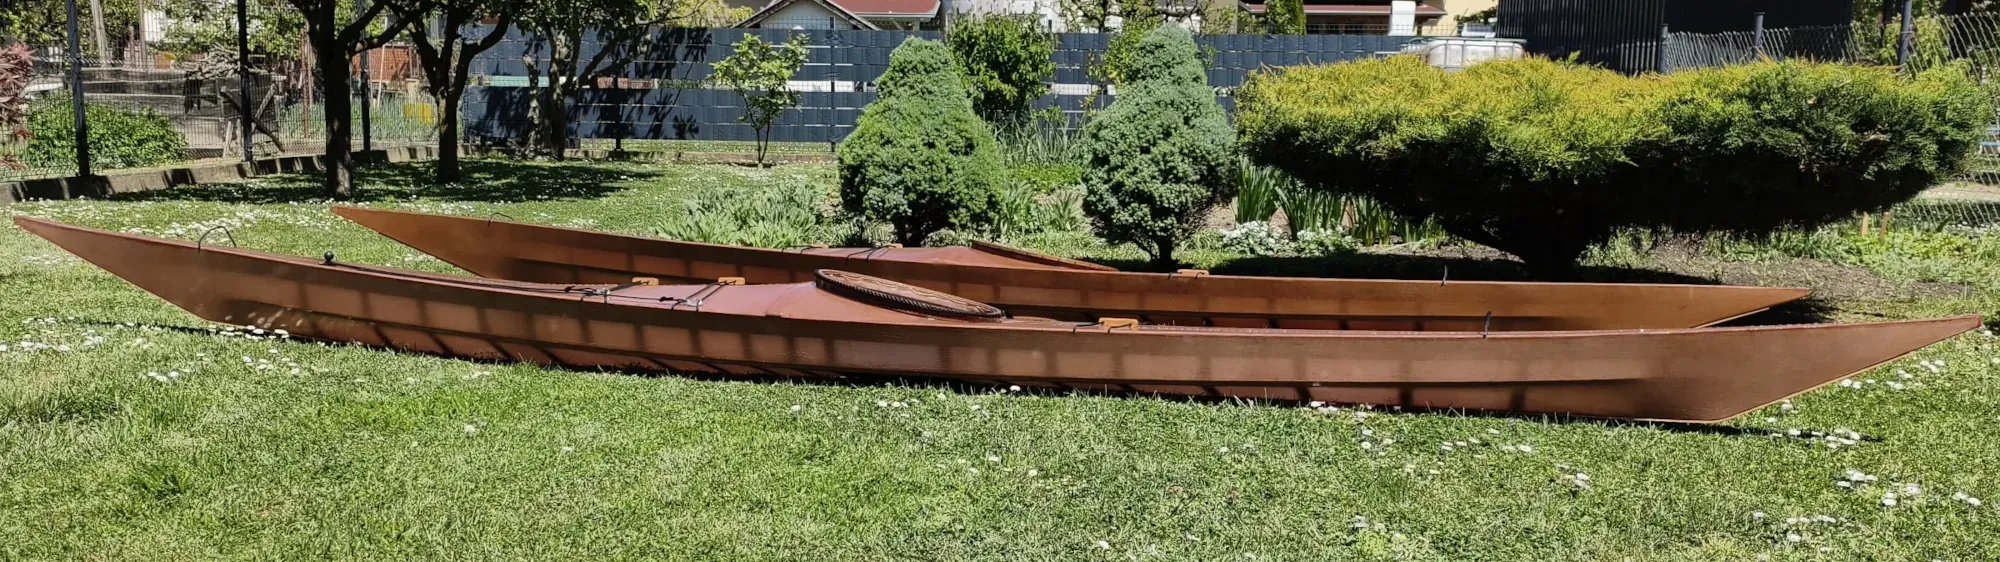
Even though I like the look of this low-profile bow/stern — often found on East and South Greenlandic kayaks, but on some older West Greenlandic kayaks too — I decided to raise its ends and make it more in the spirit of later West Greenlandic kayaks, which were my main inspiration for the hull as well (‘Type VI. Circa late 19th through 20th century; generally from Northwest Greenland – Disko Bay and North’ from Kayaks of Greenland by Harvey Golden). The image with the new kayak in front of the old one should describe its look better than words.
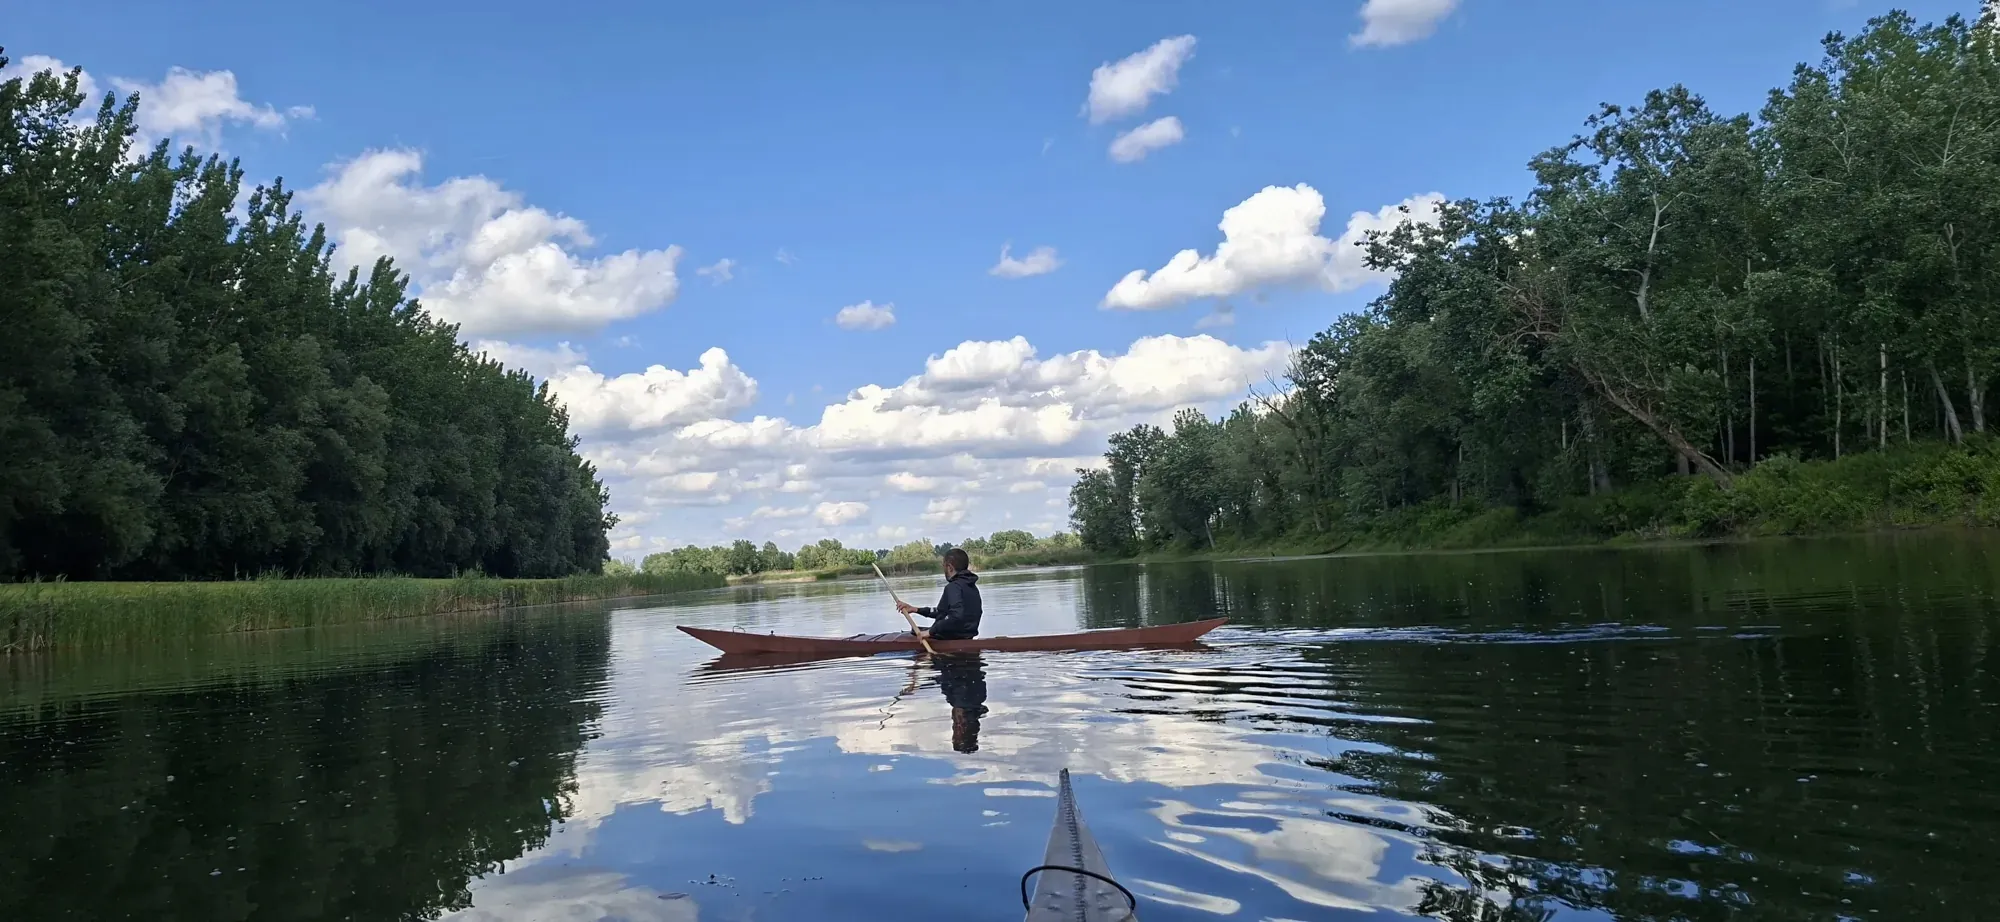
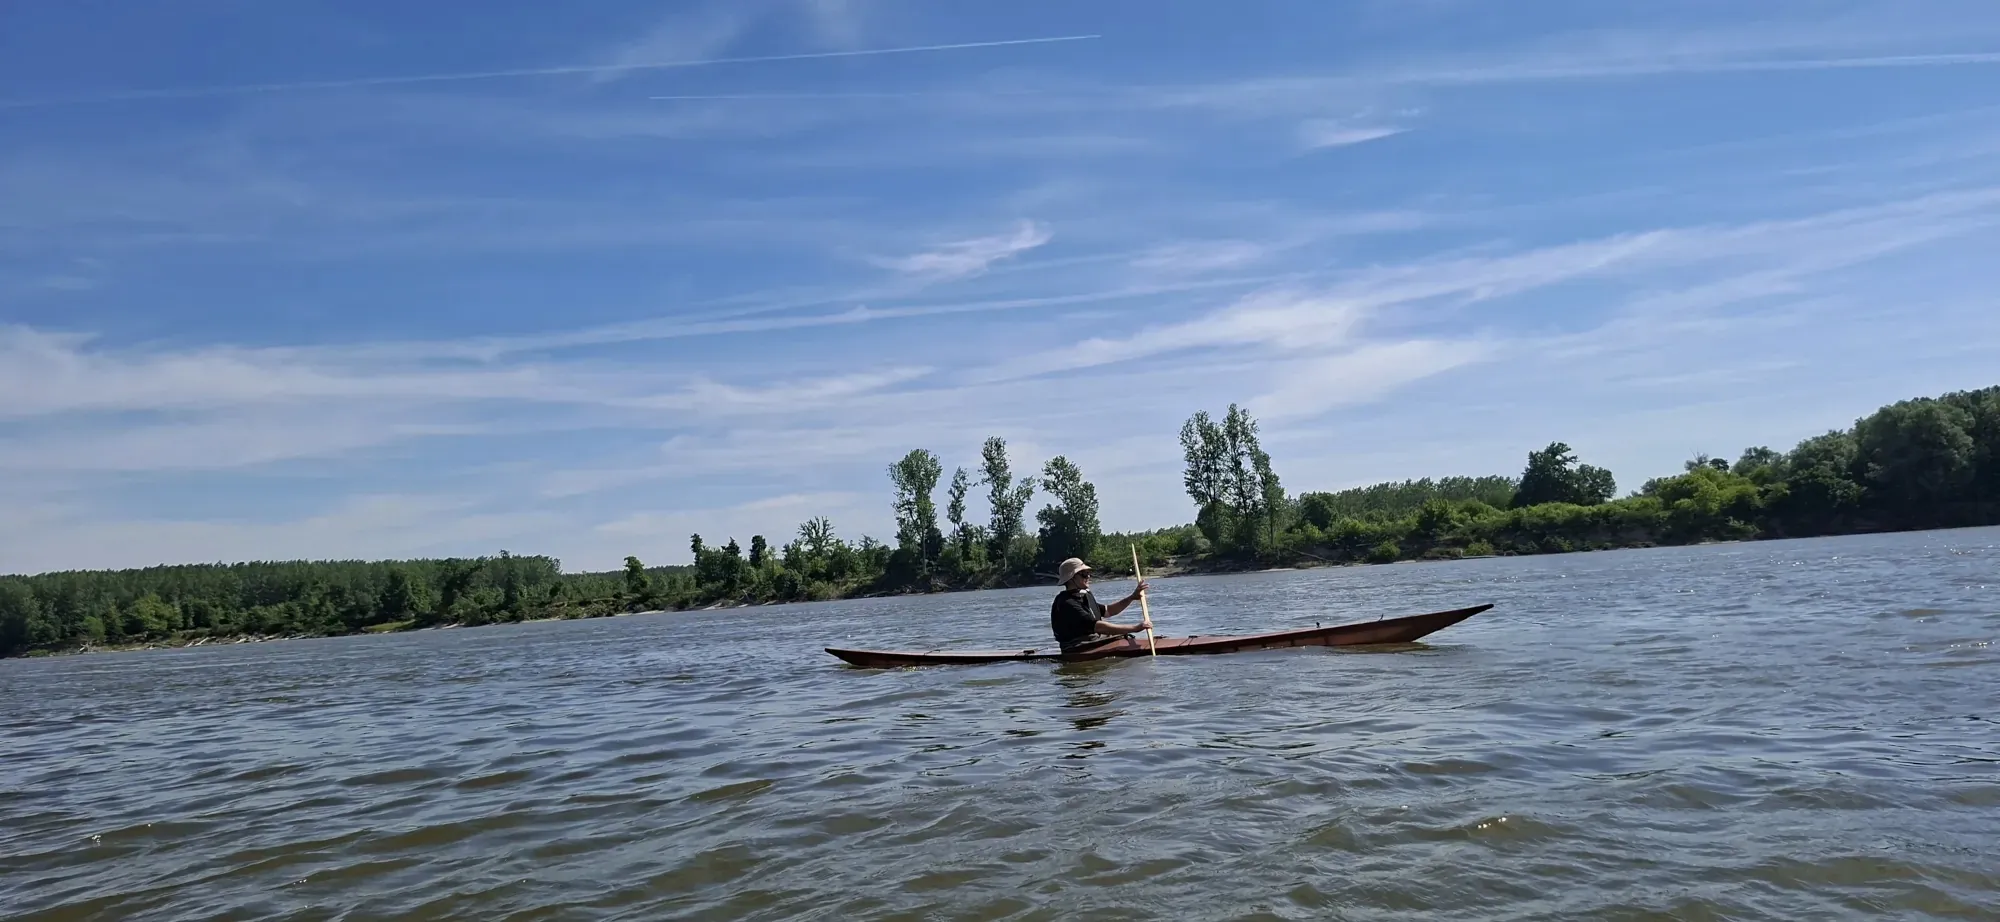
The final look can also be seen in my short screencast. I was interested in getting a more accurate volume measurement for different kayak sizes, so I couldn’t help myself. Nice thing about Blender is its volume calculation feature!
Hull
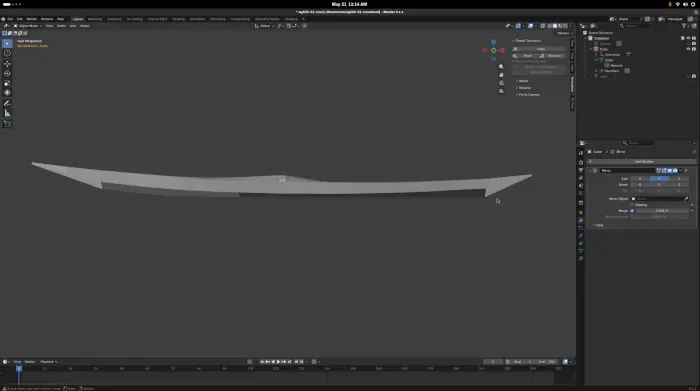
This image will better describe the hull and rocker of the finished kayak. A hard chine allows for nice edged turns. A flat rocker at the stern and a V-type hull should increase tracking. Moving the cockpit position further aft of center will additionally reduce weathercocking.
Stability
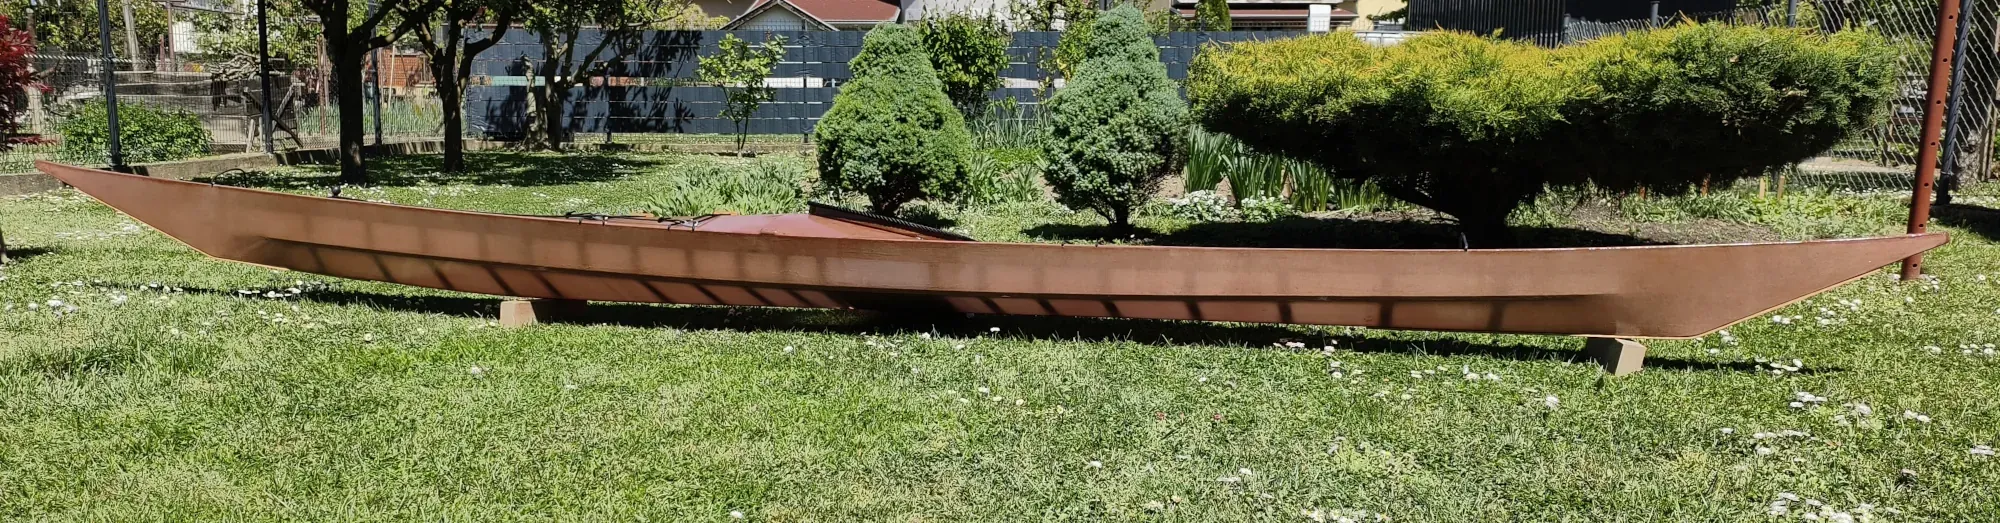
The hull gradually transitions into a shallow V at the sitting position. This will increase primary stability to a moderate level and offer high secondary stability. The lower sitting position additionally improves primary stability.
Speed
A V-hull in combination with a smaller kayak beam is not designed for top speed, but rather to offer excellent cruising efficiency with minimal effort. I will provide more details in my next ‘on-the-water tests’ blog post. If I wanted top speed, I would probably build an Aleutian Iqyax (Baidarka). These kayaks were built for speed and can easily be compared to modern racing kayaks. But like any other racing kayak, you get low primary stability. There are always trade-offs.
Sizing
Depending on paddler size, I build these with an LOA of 5–5.4m and a beam of 51–55cm. It’s not that it can’t be done in different sizes, but a smaller beam will additionally affect stability, and going over 54–55cm takes us outside what should be a Greenland kayak — and this type of hull will also start to lose its efficiency. Observing some ‘Type VI.’ kayaks (‘Kayaks of Greenland’ by Harvey Golden), it can be seen that they were slightly shorter and wider, with LOA and beam being proportionally scaled. From the opposite end of the spectrum and a different period of time, there were kayaks approximately 6.3m long with a beam of only 43cm!
Even a proportionally scaled replica of some kayaks will not have the same performance as the original, so I lean more towards checking paddler size, what kayak volume would suit their weight, and what the paddler expects from a kayak regarding stability vs. paddling efficiency, tracking vs. maneuverability, rolling, and so on. Taking myself as an example: at 174cm tall and 70–75kg, with a hip width of 35cm — my first kayak had an LOA of 5m and a beam of 51cm, and this new one is slightly longer (5.2m) with the same beam. Although both track very nicely, I can feel that the new one tracks slightly better than the old one. It’s hard to say that one rolls better than the other either. I feel that they are both very easy to roll once you know what you are doing. I still have a lot to learn, but I hope there will be some rolling video soon. ;)
Fitting
A mistake I made with my first kayak was leaving slightly too little space for the feet. A pretty big mistake, I must say, because it starts to annoy you on longer trips and you can’t do anything about it. I can’t describe the feeling when you need to place your feet behind the footrest just to give them a rest!
Footrest
To resolve this problem, depending on kayak and paddler size, I increase the space between two deck beams to accommodate an additional footrest deck beam. It is installed at the maximum feet distance — actually slightly harder to reach — but it would be ideal for more demanding Greenland rolls. Additionally, I add one or two extra pieces of wood screwed into the footrest deck beam for a ‘perfect’ fit. This way there are more options — you can add or remove them as required.
There was no classic modern footrest in Greenland kayaks. It can be done, but I like to keep it traditional and minimalistic. An additional reason is that even footrest rails could take up too much space in these low-volume kayaks, making it hard to fit your feet comfortably. There is not much extra space, because these kayaks were designed by Inuit master builders to fit you like a glove.
Masik height
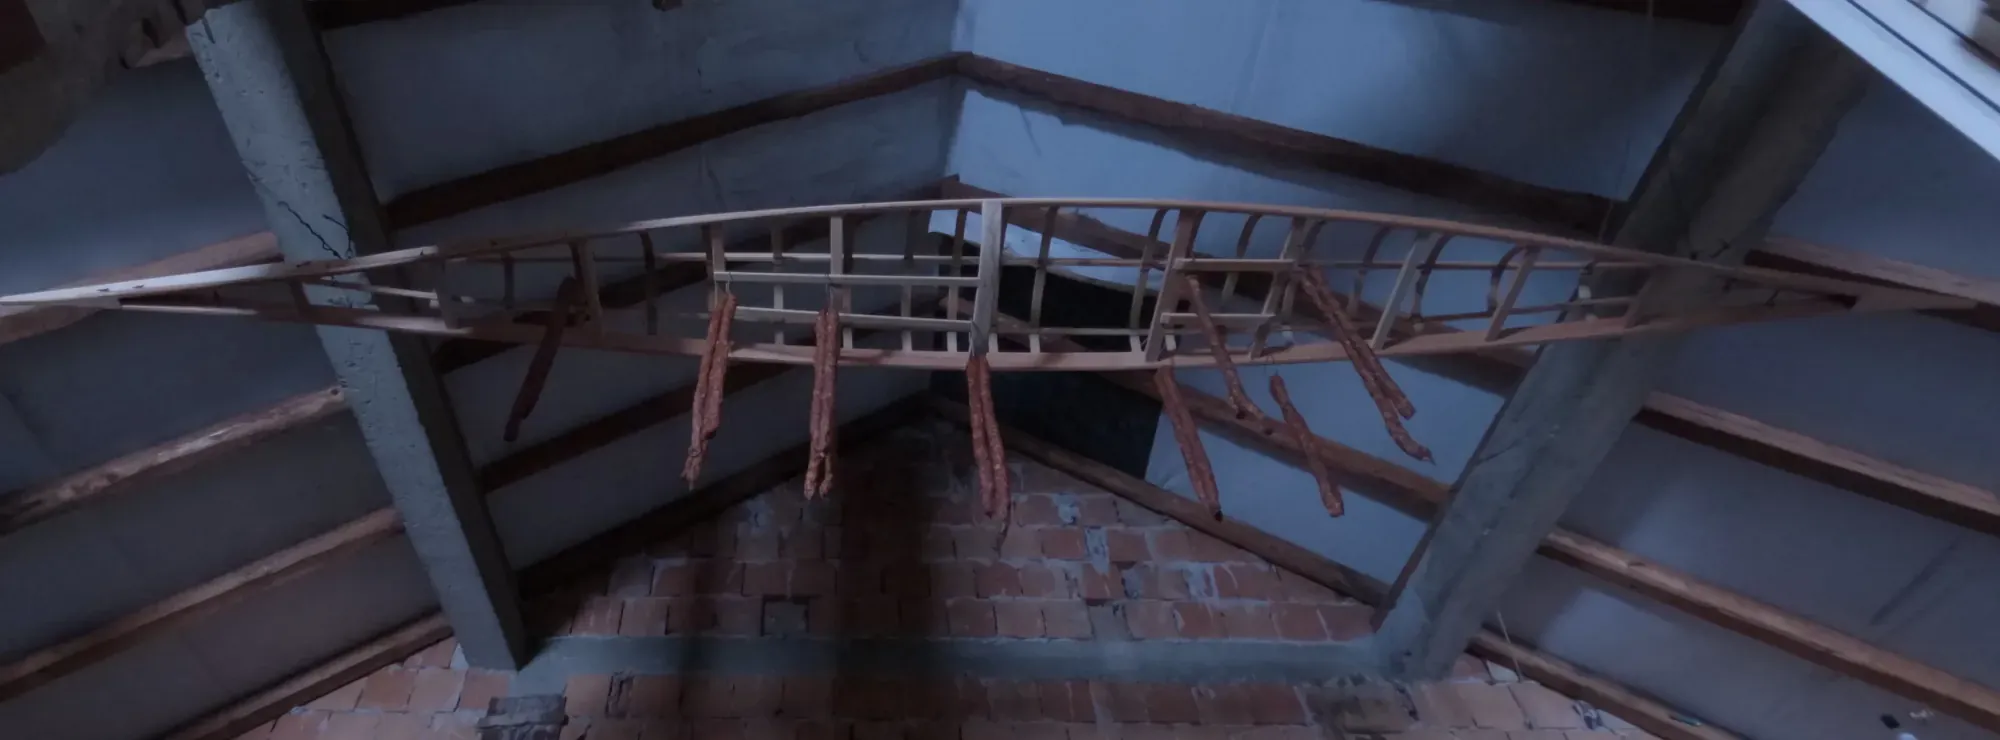
The Masik is the main curved deck beam where the front of the cockpit coaming rests. Based on paddler size, I can build most of the frame in advance, except for the footrest position and Masik height. So, if you want a West Greenland kayak, you’ll need to visit my attic during the period when I am finishing the kayak frame, sit inside the frame, so we can take these measurements. After this, you could try some ‘rakija’. If you are lucky, there are short periods when you can also try one of these!
Shoes
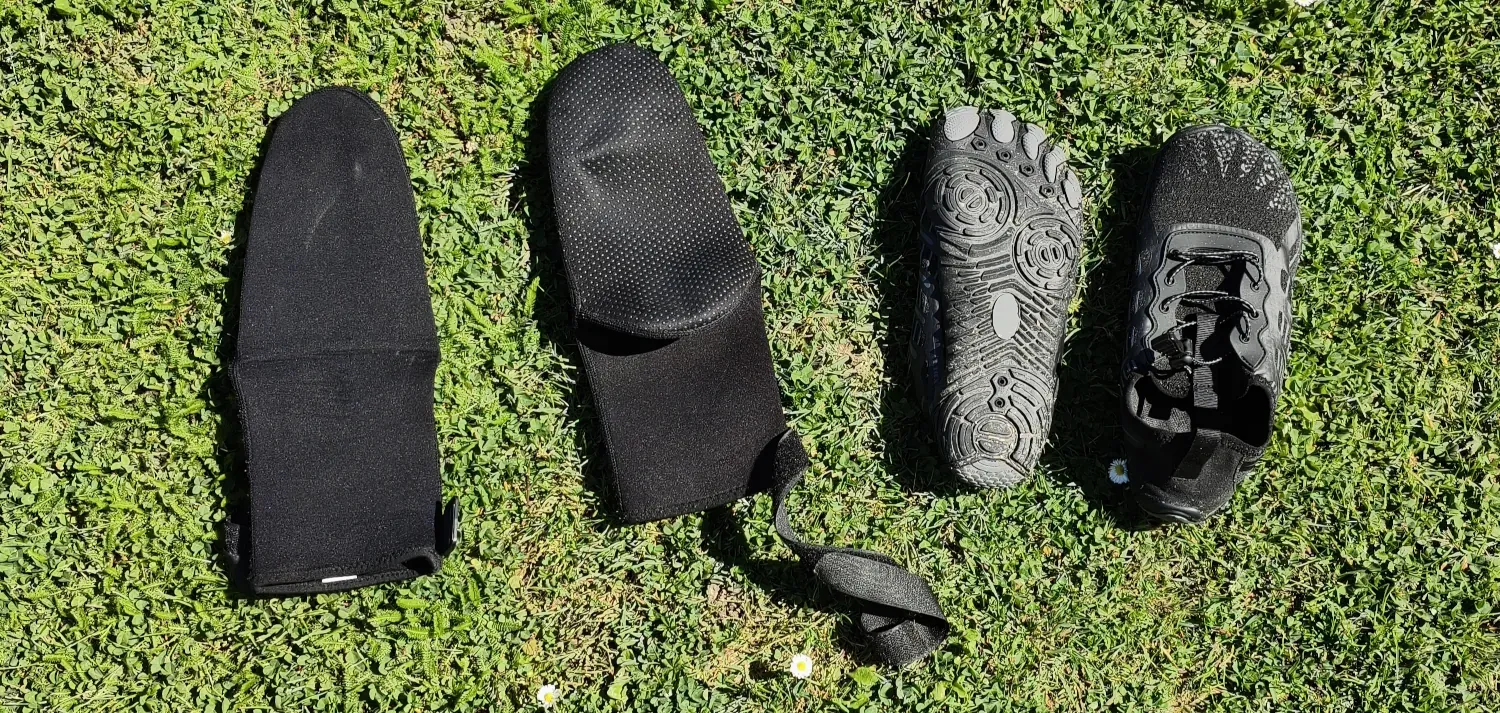
I like to paddle a Greenland kayak barefoot or with neoprene socks. Lately, I have started to use water shoes. Anything larger than this may be too large and could be a potential safety issue if you are having a hard time entering your kayak.
Sitting
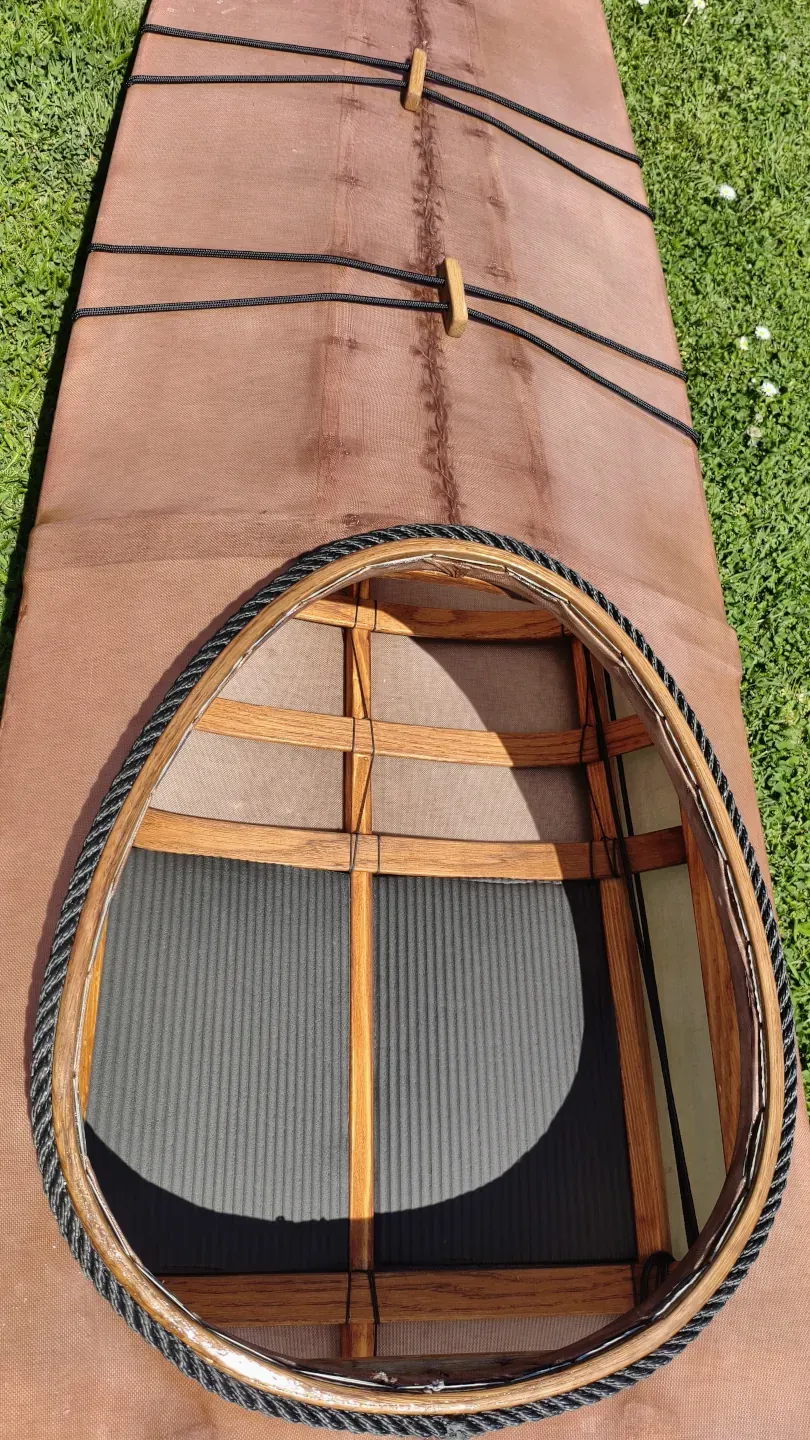
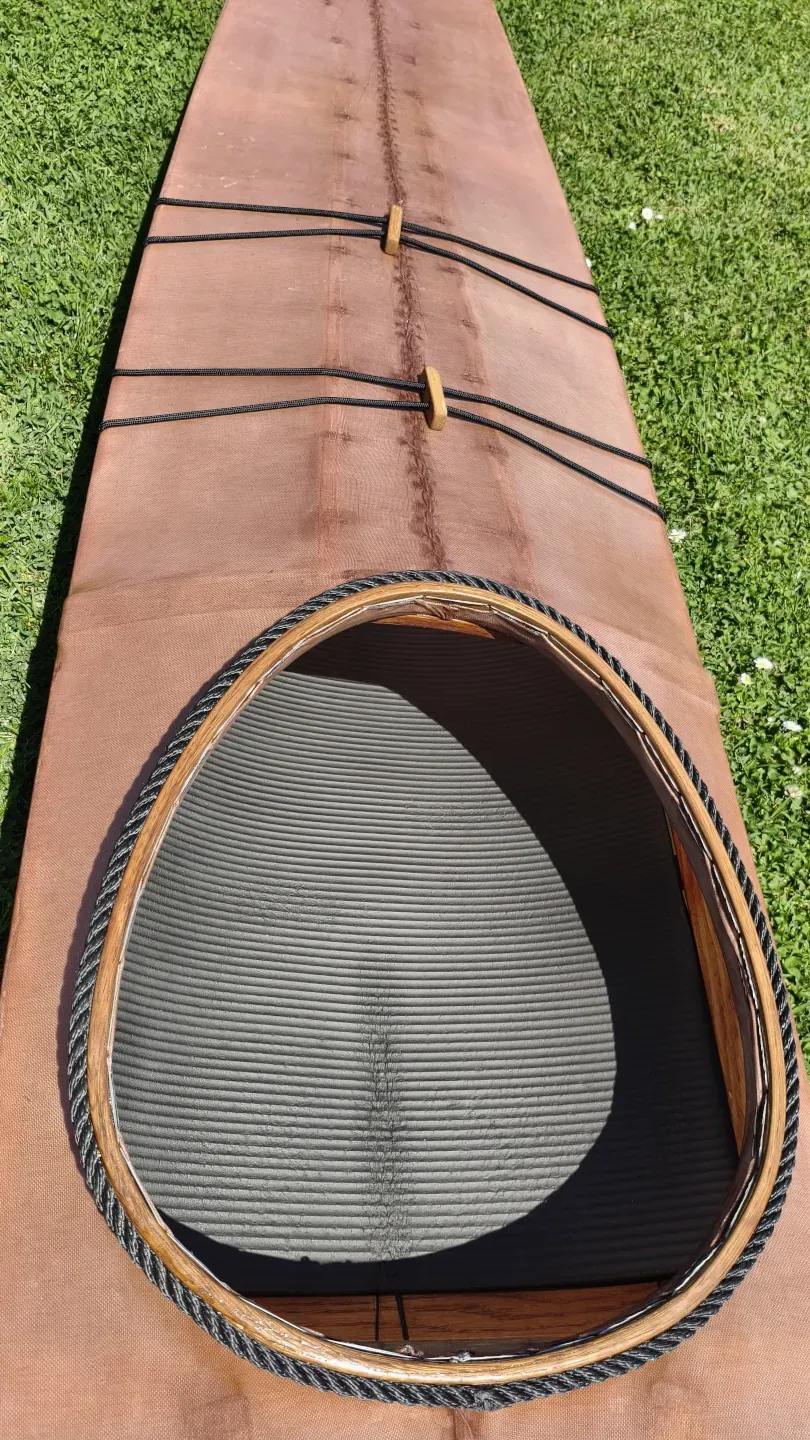
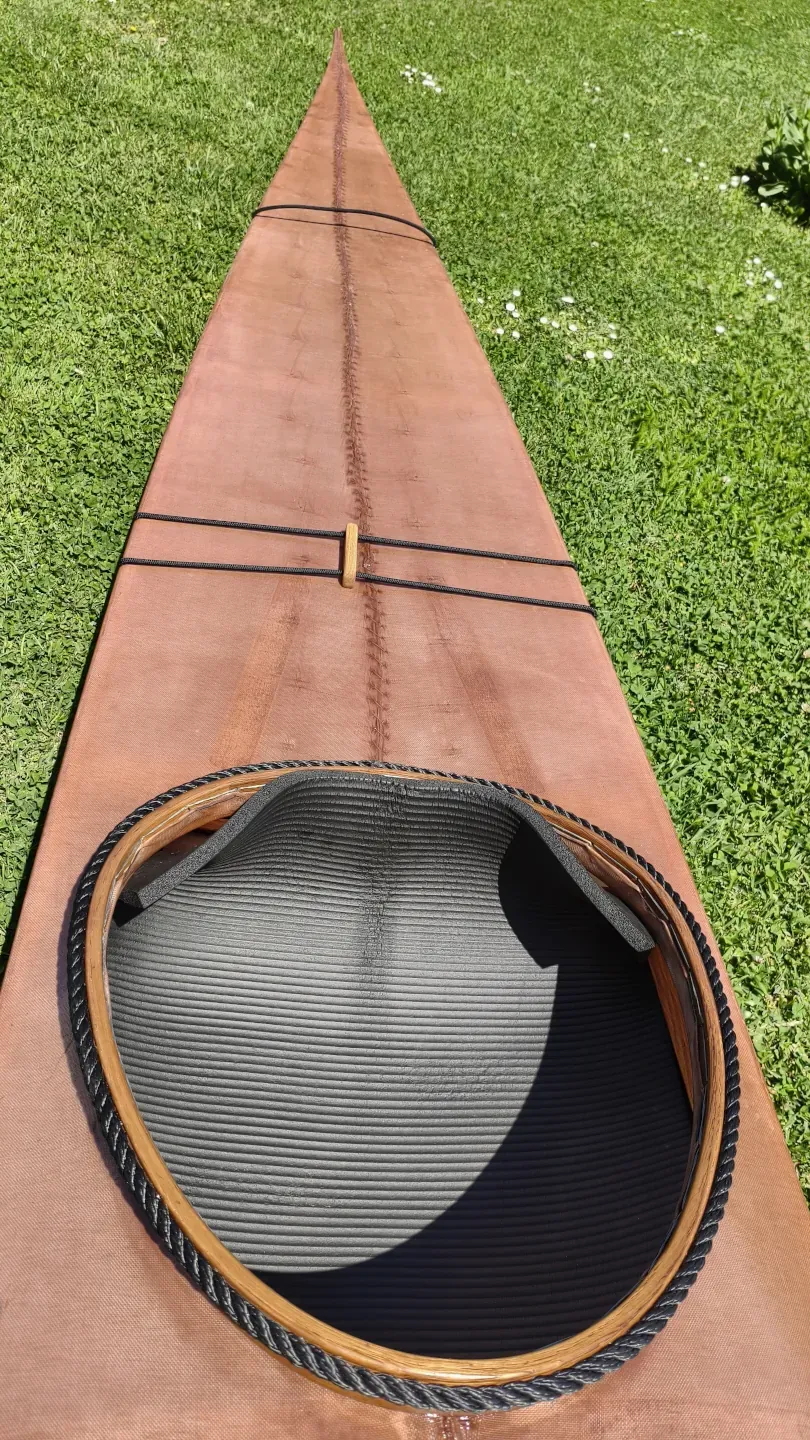
Yoga mat. Lower center of gravity and more stability. Depending on how cold it is, I mostly use either two smaller pieces placed between the ribs, a longer larger yoga mat, or both.
Backband?
This does not compute. The Greenland cockpit coaming is small and this can create a safety issue during a wet exit. Something I do is to slightly pull back the yoga mat and raise this piece to the edge of the coaming.
Loading a kayak
Although it is perhaps more appropriate for day trips due to its small volume, I wrote a blog post ‘How to Pack a Skin-on-Frame Greenland Sea Kayak’ on how to pack it and extend your trip to a few days. I hope I will find some time soon and record a video of camping with a Greenland kayak.
Construction updates
More lashing
It’s hard to tell which is better, but I feel that lashing the deck beams to the gunwales locks the gunwale angle a bit better, because these wooden dowels tend to vary in diameter — so if one is a bit thinner, you need to use glue, and I like to use as little glue as possible. Additionally, the lashing method was mostly used on West Greenland kayaks from the time period that was my main influence.
Steam bent arched deck beams and Masik
These are built from Slavonian Oak.Sawing an arched deck beam from a straight-grained piece of wood means that you have a somewhat weaker part at the curves, because the wood grain runs outside, so it needs to be a little thicker. That’s why native builders mostly used naturally curved wood. I had this ‘steam-bent deck beam’ idea ever since I steam bent my first kayak rib, but the frustrating part is that when you remove the deck beam from the steam bending form, you get some spring back and an inaccurate height. There were many trials and errors, especially with the Masik, but once you hit the sweet spot it’s a pretty satisfying feeling. Additionally, you need less wood.
Zig zag stitches
I like to try different stitching methods when I build a kayak for myself. I use a slightly modified method — let’s call it a double zigzag, shoe-like stitch. Maybe I’m overthinking this, but I prefer a more symmetrical pulling force on both sides of my kayak. Additionally, because it’s one continuous thread without knots at the starting position, you are able to remove the zigzag thread after the main stitch. This is something I tried on this latest kayak simply because it looks nicer when you coat the kayak with polyurethane and squeegee it, without having zigzag pull hole-thread bumps. In the end, I’m not liking it. I realized that the skin can become a little loose in wet and cold conditions, at least with the skin that I use. This never happened with my previous kayak builds, so I’m leaving the zigzag stitches in from now on. Some may not like them, but for me they look quite nice seen underneath the translucent skin, and it’s also the way historical kayaks were skinned with seal skin.
Urethane coating
I switched from marine alkyd urethane to an aliphatic urethane coating with good elasticity and great abrasion resistance — UV stable and non-yellowing. The first image in this blog post shows the color difference, with the new kayak in front. The same earth pigment was used.
Weight
Not much has changed — same as my previous kayaks. The kayak from the video has an LOA of 520cm, a beam of 51cm, and weighs 13kg.
Project Complete: Moving onto a Skin-on-Frame Touring Kayak
I feel I’ve reached the end, although there are so many beautiful historical kayaks in Kayaks of Greenland by Harvey Golden. Once you get used to the smaller space, you start wondering if you could fit into an even smaller kayak. Maybe an East Greenland kayak replica? However, this may happen after my next project — my own skin-on-frame touring kayak with more volume.
I still owe you the on-the-water performance review of this latest West Greenland kayak. This should come in my next blog post.
Update:
My new blog post on how this kayak performs is here: West Greenland Kayak - on-the-water performance